We use cookies to make your experience better.To comply with the new e-Privacy directive, we need to ask for your consent to set the cookies. Learn more.
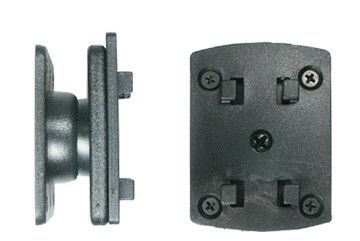
Met de Brodit ProClip creërt u een stevig montage platform op het dashboard van uw dashboard. Snel, zonder gereedschap en zonder uw dashboard te beschadigen. Elke proclip is specifiek voor één plek in de auto, op maat gemaakt voor dat type/model/bouwjaar auto. Bijvoorbeeld op de middenconsole, links of rechts naast het stuur of op de console. Er zijn verschillende varianten per auto mogelijk. (zie de afbeeldingen en omschrijving). De ProClip is de ideale basis voor de bevestiging van bijvoorbeeld een Brodithouder voor uw (smart)phone, navigatie of carkit. Ook voor professionele toepassingen is de Proclip geschikt, eventueel in een extra sterke (heavy duty) versie. De ProClip wordt geleverd met een uitgebreide installatiehandleiding. Brodit ProClip: veilig, stevig en binnen handbereik!
More Information
More Information
Accessory brand
Brodit
Barcode
7320282134594
Recommended retail price incl. VAT
€42.95
Type
ProClip left hand
Position
Middle of dashboard
Color
black
Montage standaard
AMPS sized, no holes
Product suitable for
Proclip
Show more +Show less -
Reviews
Write Your Own Review
Compatibility
Show more +Show less -
Instruction
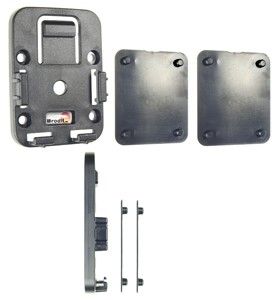
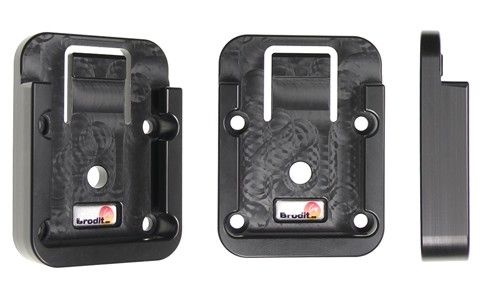
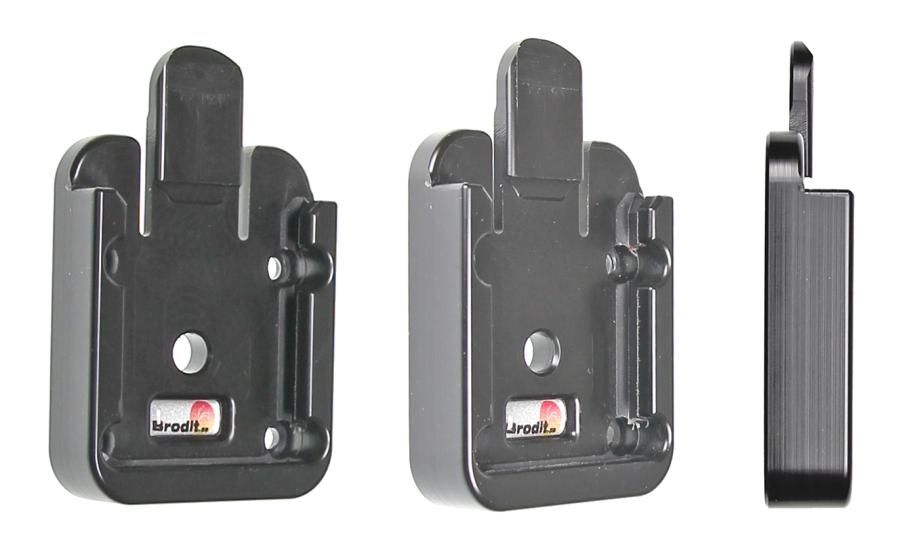
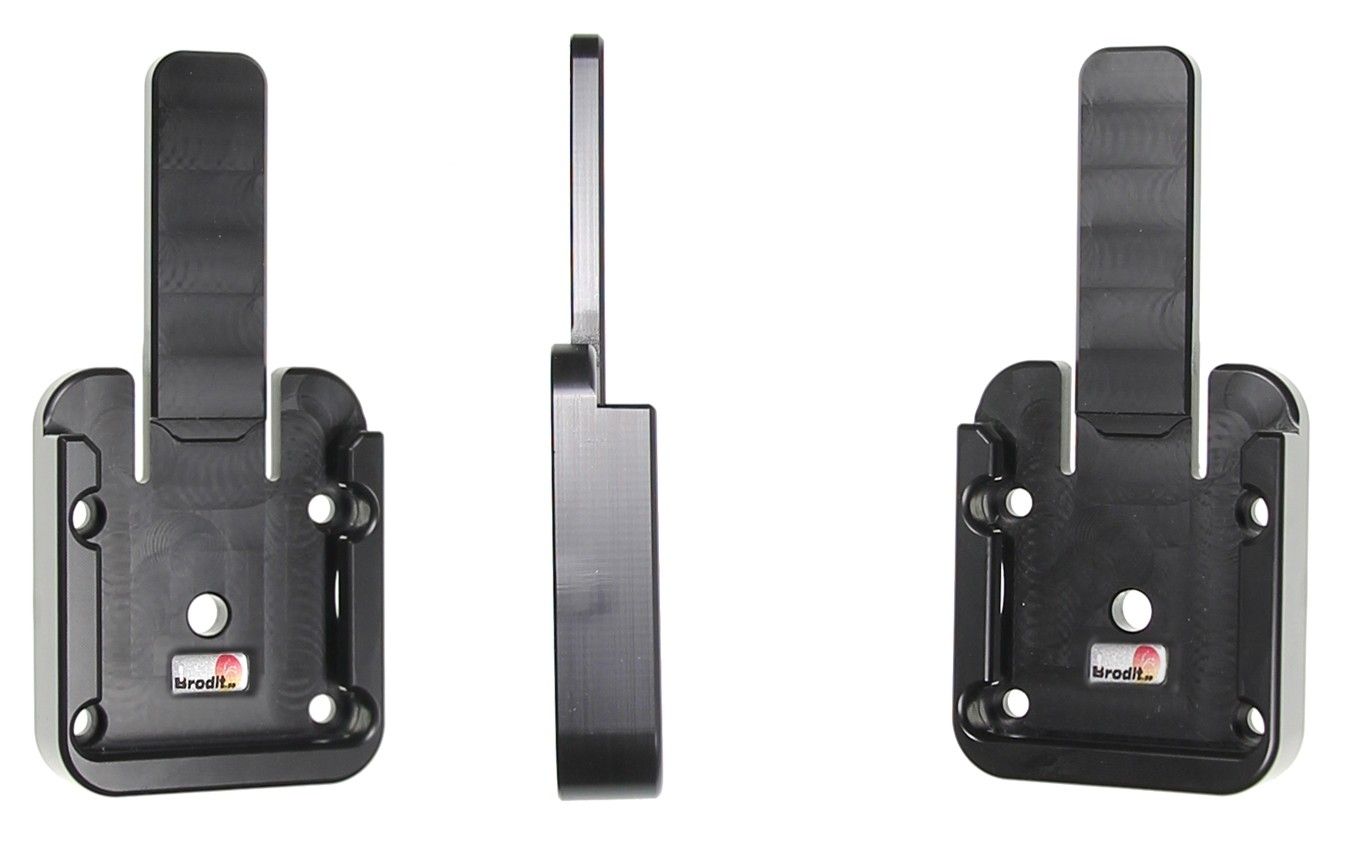
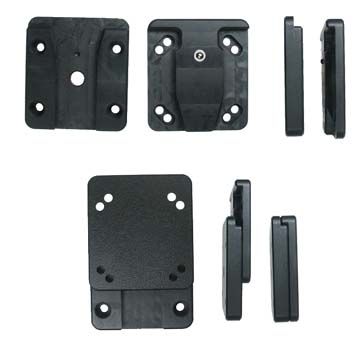
Please read all instructions and look at the pictures before attaching the ProClip. This ProClip consists of two parts. Part 1. The smallest part Part
2. The large part with mounting plate
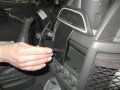
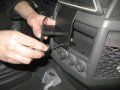
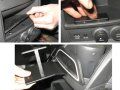
1. Remove the rubber cover in the coin compartment. Hold Part 1 so the holes are facing toward you and the two studs are on pointing downward. Place Part 1 in the holes in the coin compartment and pull it toward you so the studs are locked into place in the holes. Press the angled edge on the upper part of Part 2 into the gap in the dashboard.
2. Flip Part 2 downward and press the lower part forward so the angled upper edge hooks into the gap. Make sure that the holes in Part 2 match the holes in Part 1, adjust the position sideways if neccessary.
3. Attach Part 1 onto Part 1 with the enclosed screws. Press Part 1 toward Part 2 and in the same time tighten the screws until Part 1 is touching Part 2.